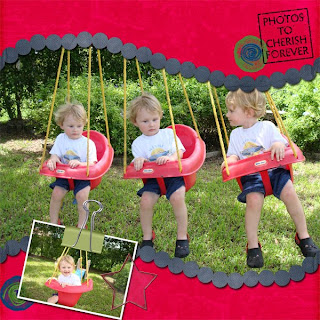
 I heart Photoshop.
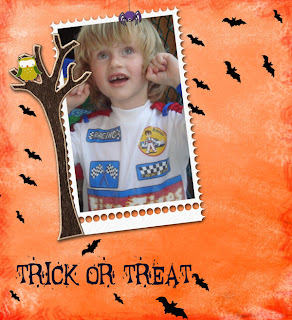
A magazine friend showed me how to use it back in 2000, and 10 years later, it has gotten better and better! I still rely on Photoshop for everything from simply resizing images for my blog to creating blog headers to cropping pictures to creating digital photo layouts like this one of my Man-cub (two years ago).
Fortunately, you don't have to work at a magazine to use Photoshop and get great results for the everyday pictures you take. Here are some ways I use Photoshop Elements to make fun photo projects!
1. Basic editing. Photoshop Elements is a great entry-level, anyone-can-use-it program to fix pictures. See this picture?
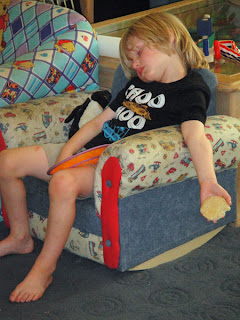
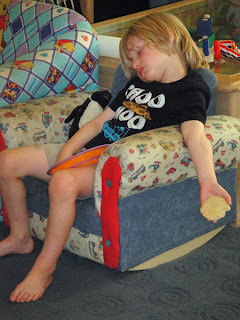
I used Photoshop's "healing brush" to quickly and easily erase some of the bruises from my son's legs (he's a klutz like me!) and get rid of stray crumbs off the floor from that cookie he fell asleep with! Can you tell the difference?
I also may or may not use the healing brush and clone stamp to erase a few wrinkles of my own....
2. Fun changes. If you took a color photo with your camera but want to change it to black and white, it's easy to do with a couple of clicks. I wanted black and white photos for this layout of my preschooler, from around the time of his second birthday:
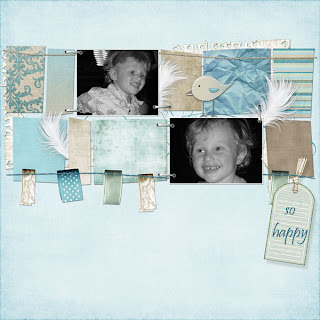
The images stand out more in black and white here, and the overall layout looks more polished without lots of colors competing against the blue color theme.
3. Creating digital scrapbooking layouts. As you've seen, I have used Photoshop to create layouts on my computer, which I later upload to photo sites and have photo books made. I love it! When it comes to paper and glue, I'm kind of all thumbs, but doing a digital layout to me is easy! Plus, there's no mess to clean up later. I can save my layouts and go back and change them later if I want to improve upon them. I can even e-mail a thumbnail to relatives. It's great! There are lots
of digital scrapbooking sites that sell or even give away kits to get you started.
4. More advanced photo editing. Last year, a photographer friend introduced me to photo actions. These are sort of like mini programs that run within Photoshop to change your image. There are actions of all kinds that sites sell or give as freebies. You can give your photo the retro, aged treatment, give your subject creamy skin or brighten up someone's eyes, as I did for my son in this layout from last year:
It really brings out his eyes! Actions are so much fun to play with, and once you try them, you'll be addicted!
5. Keeping it all organized. I know there is software out there to help organize all your photos, but I have found a file system that works for me. I create a folder on my hard drive for each month. I delete any images that are mistakes (thanks, preschooler!), or blurry, or even those pictures that are just not as good but similar to other images. If/when I have time, I rename the images something that I can later search by, like "babybirth," or "fathersday." Organization is important so that when you are ready to create a layout or find a picture to upload and use on a photo site, you can easily find the picture you're looking for.
I use Photoshop so much that I would be stricken without it. I can't imagine blogging without it. I've used Photoshop to create my sons' birth announcements and birthday invitations and even fun prank photos of friends (in front of backgrounds of places where they have never been! Heh, they are lucky I don't post those pictures here!). When a picture is worth a thousand words, you need Photoshop to really make those pictures speak!
I wrote this blog post while participating in the TwitterMoms and Adobe blogging program, making me eligible to receive a $50 gift card. For more information on how you can participate, click here.


